Our test system uses an AMD AM5 platform, so here we run you through the installation on AM5.
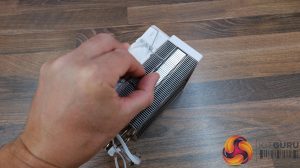
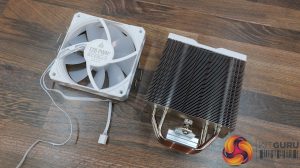
To install the NX400, first you need to remove the fan from the heatsink by unclipping it on each side using the wire hook clips.
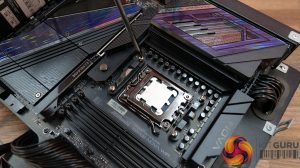

Next, remove the stock motherboard plastic upper AM5 mounting brackets and install the Montech AM4/AM5 stand-off spacers.
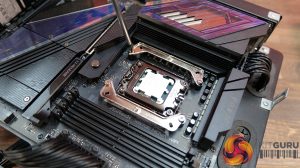
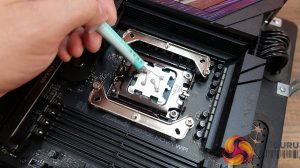
Using the screws labelled AMD on the packaging, attach the metal upper mounting brackets to the motherboard standoffs, then apply some thermal compound to the CPU IHS. I like to use the five-dot method for even coverage.
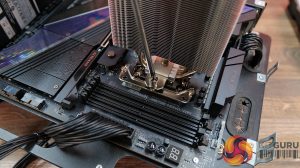
Now lower the cooler down over the CPU, aligning the retaining screws with the threaded studs on the upper mounting brackets and tighten the cooler in place evenly and progressively for the best cooler to CPU contact.
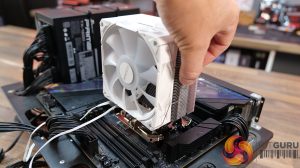
Next, clip the fan back in place. Even with tall memory modules, the fan shouldn’t interfere with the RAM, so it can be clipped in place level with the top of the cooler.
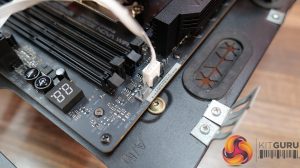
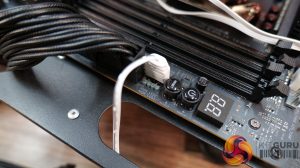
Now for the wiring (ARGB Version), connect the 4-pin PWM fan cable to a motherboard PWM fan header (usually labelled CPU_FAN) and connect the RGB cable from the fan to a motherboard 3-pin 5V ARGB header, and that is the installation completed.