Our test system uses an ASRock Phantom Gaming X870E Nova WiFi motherboard and AMD Ryzen 9 9950X CPU, so I'll quickly run you through the installation process on AM5. The installation process for AM4 will be the same, Intel is slightly different as it requires the FSP backplate to be installed; however the process is simple on either platform.
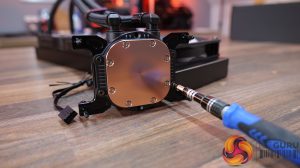

AM5 installation requires the stock motherboard plastic upper retaining brackets to be removed. The correct CPU block mounts need to be fitted, thermal compound needs to be manually applied to the CPU IHS as there isn’t any pre-applied thermal compound to the base of the CPU block from the factory.
Then the CPU block can be fastened down using the four spring-loaded screws. For even contact between the CPU block and the CPU IHS, it's best to tighten the screws evenly and progressively, a little at a time, in a cross pattern.
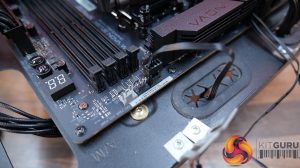
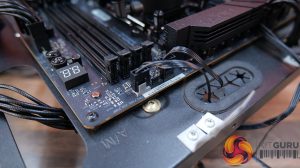
For the wiring, connect the 4-pin PWM fan cable to a motherboard PWM fan header, usually labelled CPU_FAN and connect the 4-pin pump power to another motherboard header, usually labelled CPU_OPT or AIO_Pump.
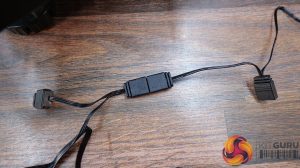

Then connect 3-pin ARGB cables in a daisy chain between the fans and CPU block, then connect the female end to a motherboard 3-pin 5V ARGB header.
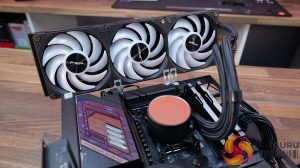
All you need to do now is find a suitable place in the case, either at the top or front to install the radiator. Since the AE36 uses all standard fan/pump and ARGB connections there's no additional control hubs or software required for the cooler to work, so the installation process is very quick and simple, even a novice user should find it a breeze.